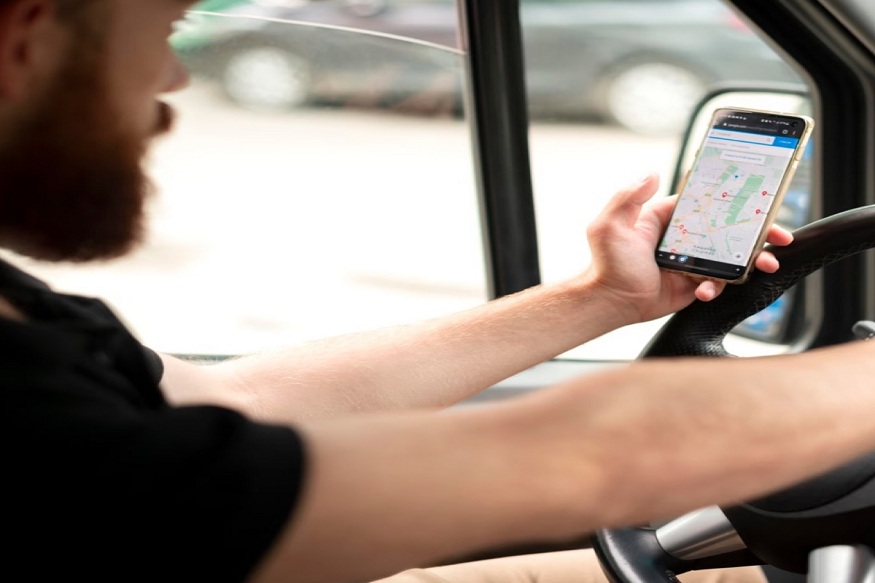
Are you tired of manually tracking your mileage for work or business purposes? Setting up a mileage tracker can save you time and ensure accurate records of your travel expenses. In this article, we will provide you with a step-by-step guide on how to set up your mileage tracker effectively.
Introduction
Setting up a mileage tracker is essential for individuals who need to track their travel expenses for tax purposes or reimbursement from their employer. With the advancement of technology, there are now various tools and apps available to make the process easier and more convenient.
What is a Mileage Tracker?
A mileage tracker is a tool that helps individuals keep track of the distance traveled for business purposes. This includes recording the mileage for work-related trips, meetings, client visits, and any other business-related travel.
Step 1: Choose the Right Mileage Tracking App
The first step in setting up your mileage tracker is to choose the right app. There are several mileage tracking apps available, such as MileIQ, Everlance, and QuickBooks Self-Employed. Research and compare different options to find the one that best suits your needs.
Step 2: Download and Install the App
Once you have selected the app, download and install it on your smartphone or tablet. Most mileage tracking apps are available for both iOS and Android devices. Follow the on-screen instructions to set up your account and provide any necessary permissions.
Step 3: Enable Location Services
To accurately track your mileage, you will need to enable location services on your device. This will allow the app to track your movements and calculate the distance traveled for each trip automatically. Make sure to adjust the app settings to ensure location services are enabled.
Step 4: Set Up Personalized Settings
Once location services are enabled, you can personalize the app settings according to your preferences. This includes setting up your home and work addresses, customizing trip categories, and adjusting mileage rates for reimbursement purposes.
Step 5: Start Tracking Your Mileage
With the app set up and personalized, you can now start tracking your mileage. Simply start the app before you begin your trip and stop it once you have reached your destination. The app will automatically record the distance traveled, time spent, and route taken for each trip.
Step 6: Review and Export Reports
Once you have tracked your mileage for a certain period, you can review and export detailed reports from the app. These reports will provide you with a summary of your travel expenses, including the total mileage, trip dates, and locations visited. You can export these reports in PDF or CSV format for easy sharing and filing.
Conclusion
Setting up a mileage tracker is a simple yet effective way to keep track of your travel expenses and streamline the process of reimbursement or tax deductions. By following the step-by-step guide provided in this article, you can start tracking your mileage accurately and efficiently. Take control of your business travel and expenses today with a reliable mileage tracker app!
Learn how to set up your mileage tracker with this step-by-step guide. Start tracking your travel expenses accurately and efficiently today! So, are you ready to take the hassle out of tracking your mileage? Setting up a mileage tracker is easy and can save you time and money in the long run. Start today and see the difference it can make in your business or work travel!

